Buy/Sell
 Log in

Path of Exile 2 Delirium Guide
A complete Guide and overview for the Delirium mechanics in Path of Exile 2, including potential rewards and recommended tactics!Path of Exile 2
Delirium Guide
Last Update: 31/10/2026
⏎ Return to the main article about PoE2 end-game mechanics
Introduction
Delirium is one of the most versatile endgame farming mechanics in Path of Exile 2. You can use it to supplement other strategies, focus entirely on running Delirious Maps, or lock yourself in Simulacrum prison, which can reward you with the most expensive Unique Item in the game, the Voices. You will always want to at least dabble in Delirium to unlock the Amulet Instils, which is a necessary step to power up your character. Lastly, you might be interested in crafting the most powerful Rare Jewels in the game, which every Build eventually pivots to. Let's embark on a journey that will question your sanity often.
Delirium Questline and Pinnacle Bosses
Your first encounter with the Delirium mechanic happens in Act 4 of the Campaign, but the real progression starts once you reach Maps. You will need to at least complete the Atlas Questline for Delirium; otherwise, you won't be allowed to interact with most of its mechanics or receive basic rewards. The full Atlas Tree is not necessary, but at least half of it should be unlocked.
- Upon encountering your first Delirium Mirror in a Map, you will find the Elder Madox studying it. He will reveal The Withered Willow location on your Atlas, which is located south of the Citadel. It is the main Delirium Hub.
- To progress the questline, you will have to activate Delirium Mirrors at the beginning of your Map and kill Map Bosses quickly enough so that they are still affected by Delirium. Repeat this until you unlock your first Grand Mirror.
- By interacting with the Grand Mirror, you will spill the Delirium Fog on your chosen Atlas area. The Questline version is locked to a specific region, but in endgame you can choose any Map.
- On those Maps, a permanent Delirium lingers. You are not limited by time, but the Delirious effect on monsters is intensified, improving their damage, durability, and dropped loot. The Delirious effect starts low and rises up to 200% as you progress through more Maps within the affected region.
- Eventually, you will reach the Simulacrum. There you have to fight through 7 waves of monsters, including special Bosses, the Omniphobia and Kosis.
- At the end, you will receive the Raven's Reflection, which is the ticket for the final Boss of Delirium, The Raven Trickster. Go to The Withered Willow to activate it. Upon defeating him, you will be rewarded with 6 Atlas Points.
Delirium Rewards
The main rewards you will get from those encounters are Delirium Splinters and Liquid Emotions. Collecting 300 Splinters will convert them automatically into Simulacrum, which allows you to convert a Map of your choosing into a Simulacrum encounter. You can't pick just any Map; it has to be at least 100% Delirious, which you can achieve by finding Grand Mirrors on your Maps.
The Delirium effect also greatly boosts the natural, generic loot of affected monsters based on the Delirious level.
| Icon | Notable Delirium Items |
 |
Simulacrum Splinter Stack Size: 300 Combine 300 Splinters to create a Simulacrum |
 |
Simulacrum Adds the Simulacrum to a Map The selected Map requires at least 100% Delirousness to apply it. |
 |
Liquid Emotions Removes a random modifier and Augments a Rare Basic Jewel with a new guaranteed Crafted modifier. Can be used at The Withered Willow to Instil Amulets with a Notable Passive Skill. |
 |
Ancient Liquid Emotions Removes a random modifier and Augments a Rare Time-Lost Jewel with a new guaranteed Crafted modifier. Can't be used at The Withered Willow to Instil Amulets. |
 |
Raven's Reflection Bring this to the Mirror in the Withered Willow to access The Raven Trickster pinnacle Boss |
 |
Raven-Touched Shard Socket-bound Augment for Helmets. Grants the Raven-Touched modifier, which allows instilling it as though it were an Amulet. Drops from The Raven Trickster. |
 |
Split Personality Can Allocate Passive Skills from the <Random class> starting point Drops from The Raven Trickster. |
 |
Voices Allocates 2-4 Sinister Jewel sockets Allows you to put extra Jewels in your Passive Tree. Currently, a 4 Socket variant is the most expensive Item in the game. Drops from Simulacrum. |
 |
Megalomaniac Allocates <2-3 random Notable Passive Skills> Drops from Simulacrum. |
Delirium Encounters
The Delirium mechanics are fairly simple, but the terminology used can be quite confusing, and some effects are hidden from players' eyes. Let's break them down to the basics.
Delirium Mirrors
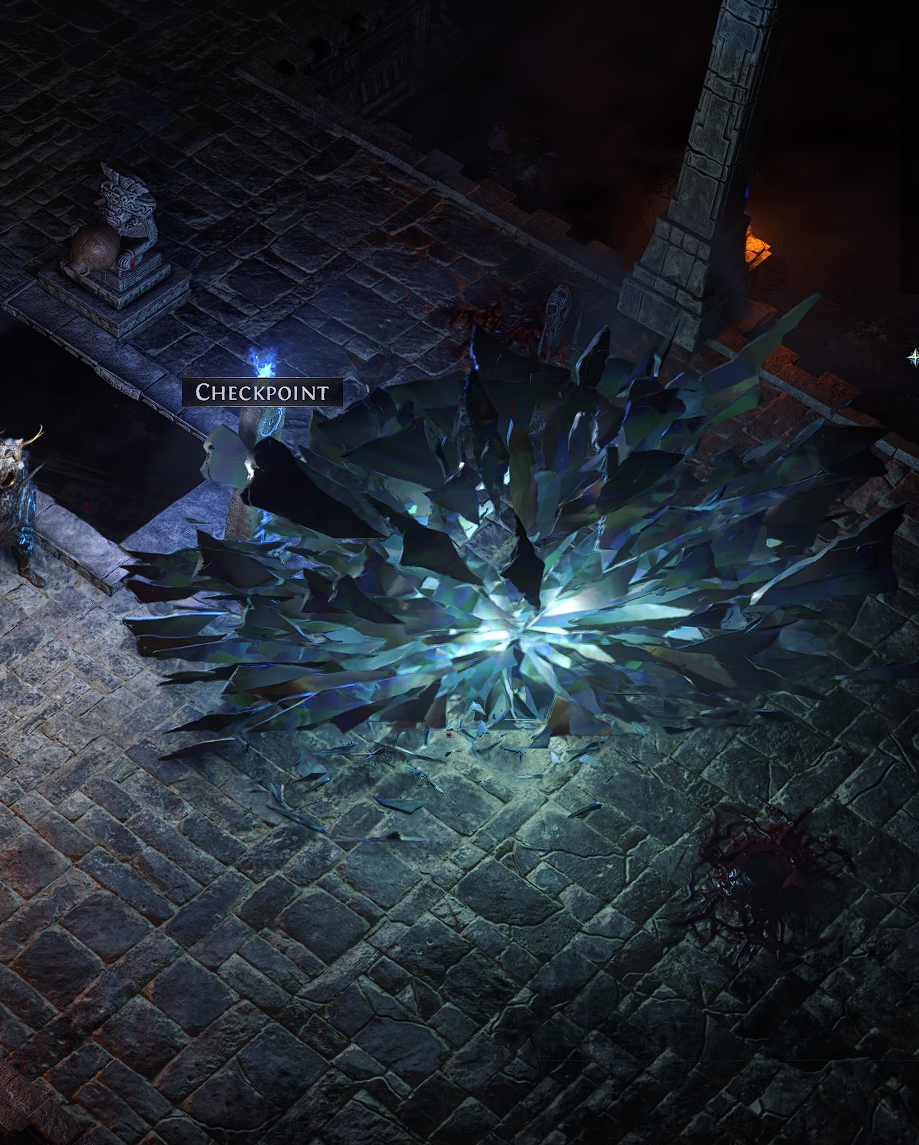 |
| Delirium Mirror that awaits activation |
The basic form of Delirium. This Mirror always appears at the starting location of your Map. Upon activation, a dense fog spills across the Map and starts moving toward its end. Stepping outside the fog for 5 seconds will end the encounter. The Delirious level starts low and increases over time. Some map layouts (such as Augry) are simply not possible for a full run. You will also see a progress bar, which indicates how far you are from the Map Boss, so it can be used as a navigation tool, but it also shows how close you are to ending the Delirium or activating additional Mirror Shards.
 |
| Progression Bar can be used to gauge how close you are to finishing the encounter. |
 |
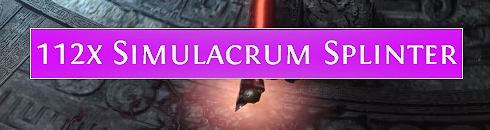 |
| Splinters are awarded at the end of the encounter. | |
Delirious Effect
Monsters inside the fog are Delirious, which means they deal more damage, they take less damage, and they drop more loot. This effect is scaled by the Delirious level of the area. They also manifest Delirium apparition demons, which trigger various damaging effects. During that time, the host monster is stunned, so it is sometimes a beneficial effect.
At 200% Deliriousness, monsters are roughly 4 times as hard to kill.
Mirror Shards
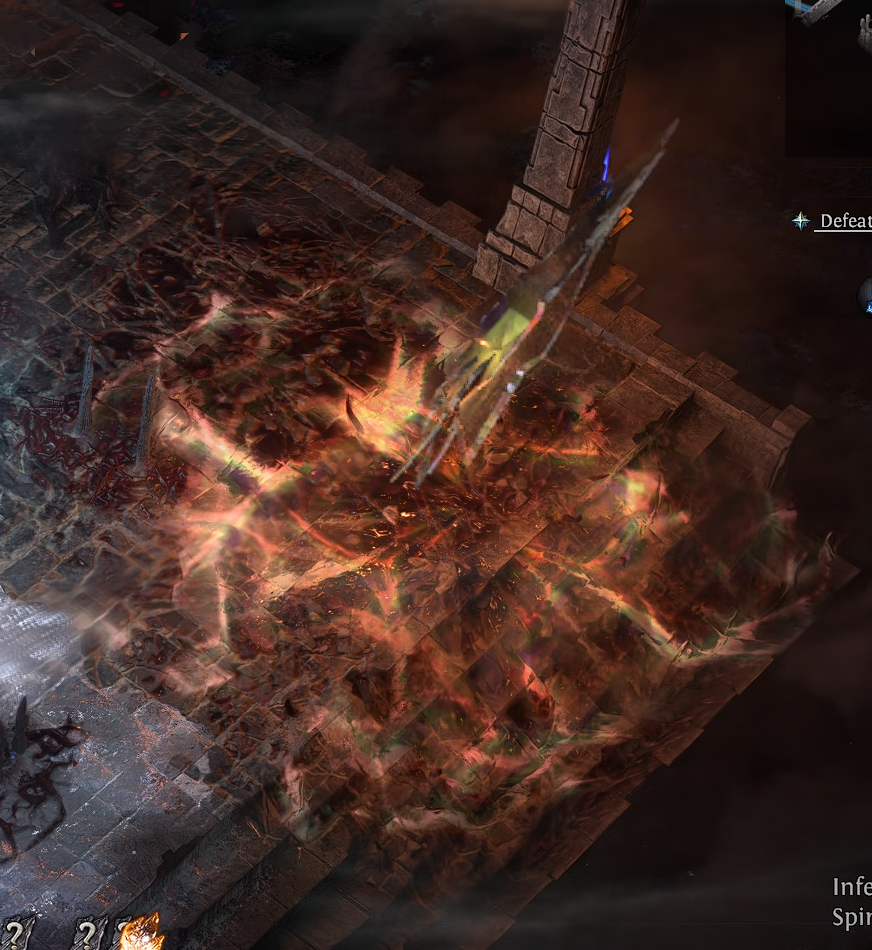 |
| Mirror Shards spawn monsters or add extra effects. |
In the Fog, you will encounter smaller Shards that break upon contact and summon more monsters. You can also see them on the progress bar. The color of the Mirror indicates the Rarity of summoned monsters. There are 3 types:
- Escalation Shards: summon regular monsters, pause Fog movement for a moment, or add extra modifiers to all monsters
- Deceptive Shards: summon Bosses, or create a portal to Loathsome Mire
- Capricious Shards: summon mirrored Map Boss or manifest Grand Mirrors
Fracturing Mirrors
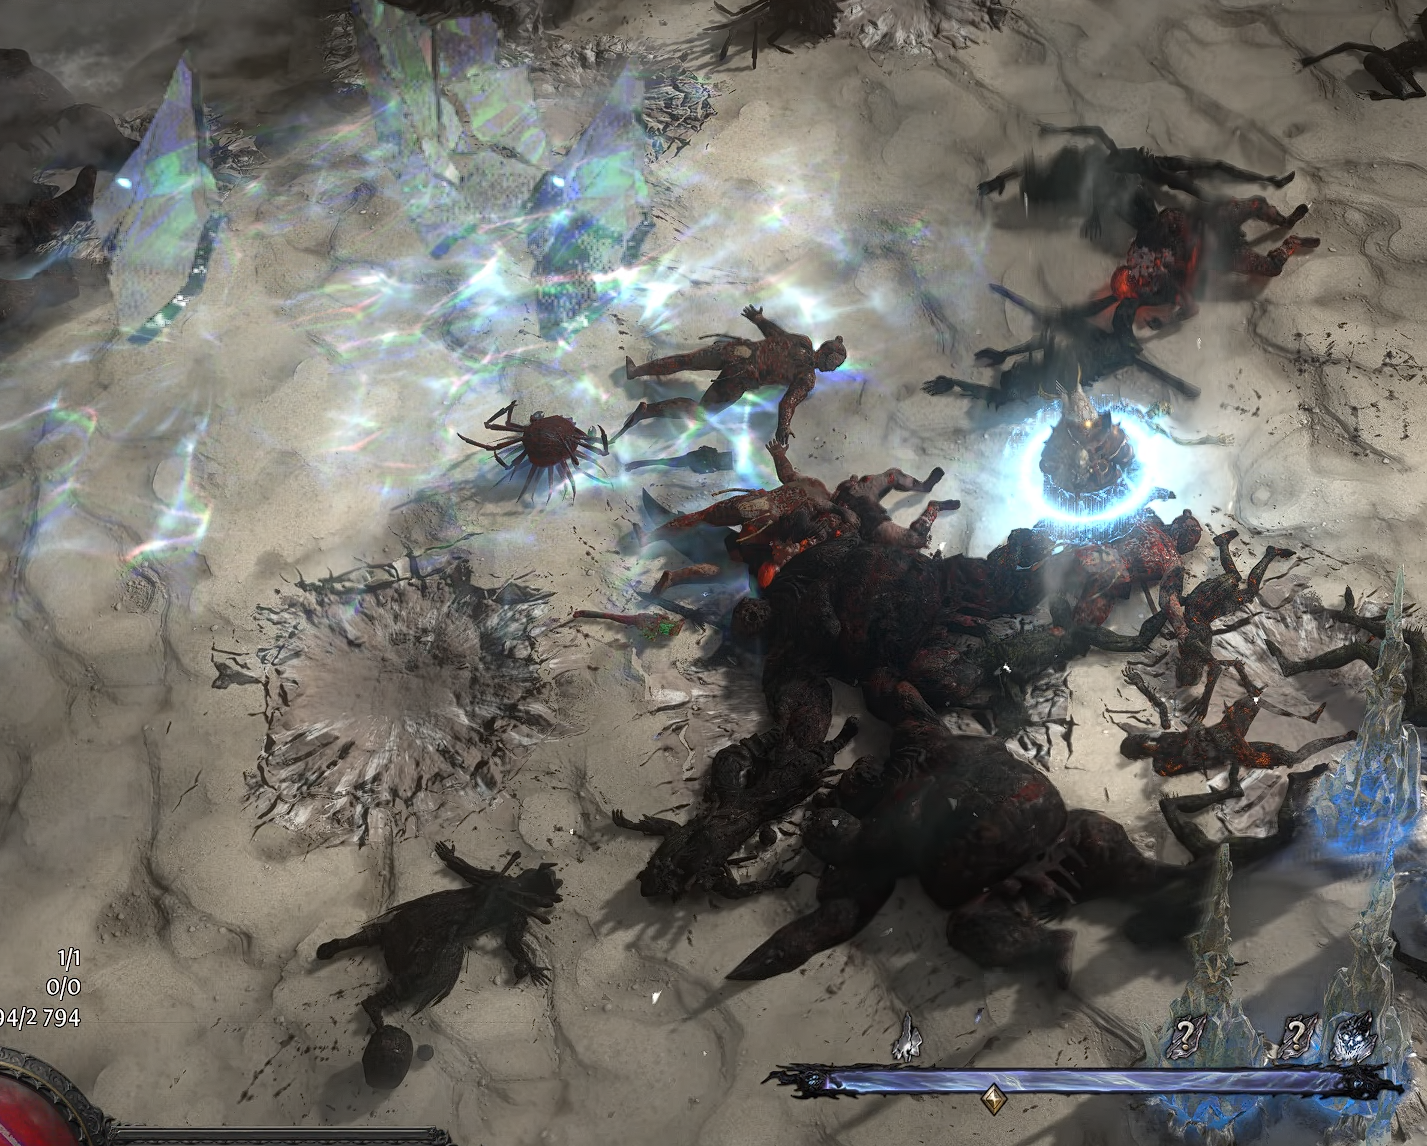 |
| Fracturing Mirrors are not marked on the Progression Bar. |
Fracturing Mirrors are very similar to the Mirror Shards, but they only spawn Monsters when you interact with them. They only summon Normal or Magic monsters. You can find them anywhere in the Fog.
Loathsome Mire
It is a special sub-zone that rewards you with a special Amulet base with 2 random Instilled Notables. To reach it, you will have to travel a long way through monsters and a slowing environment. Currently, it should be avoided at all costs.
Grand Mirrors
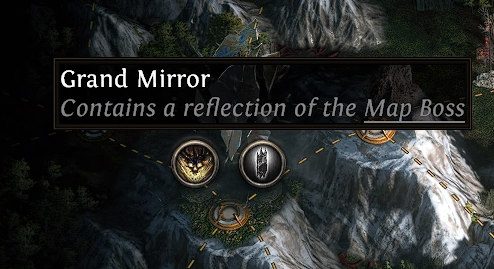 |
| Randomly manifested Grand Mirror |
Grand Mirrors allow you to create Delirium Banks, which means a series of Maps that have a permanent Delirium Effect applied to them. The Delirious Effect increases with every Map you complete, up to 200%. Here you can create Simulacrum encounters, or farm other Endgame mechanics and enjoy the extra loot from the Delirious Effect applied to them for free. It is also a great source of Simulacrum Splinters; however, here they drop immediately in smaller stacks, making it quite tedious.
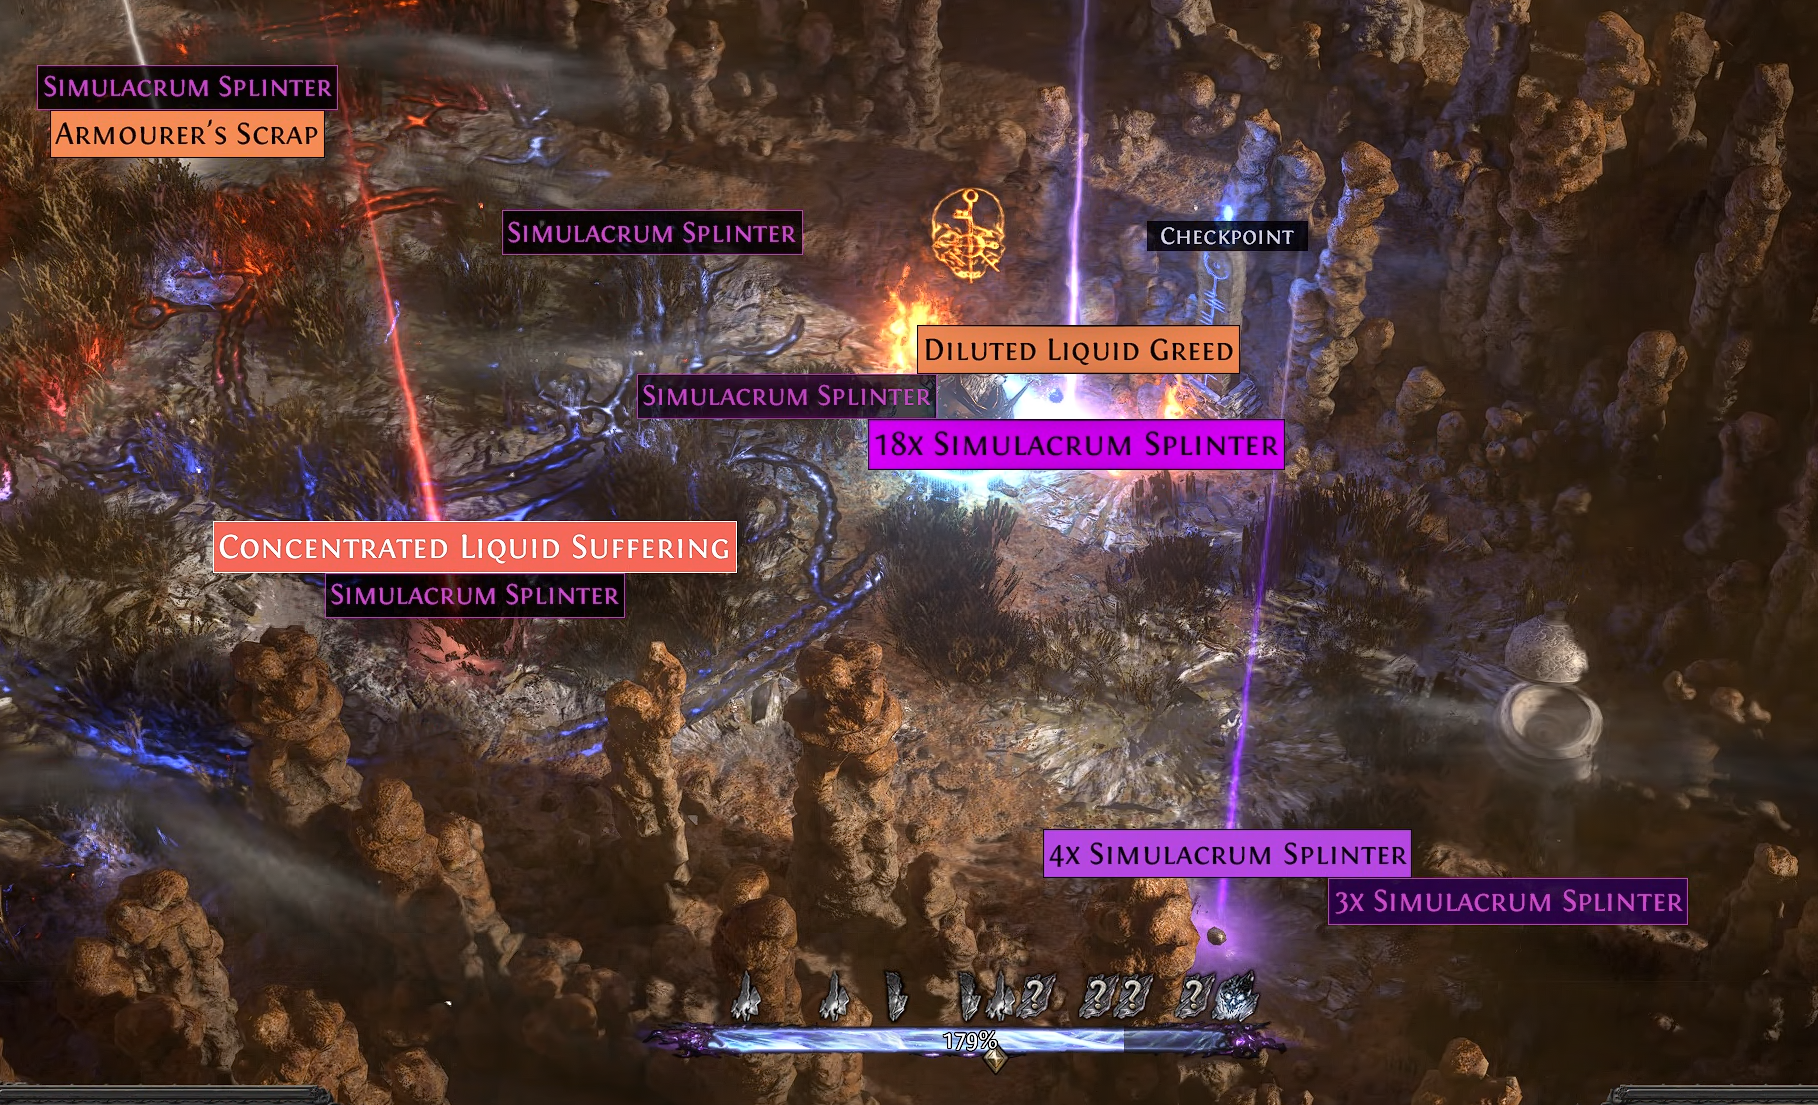 |
| Delirious Maps drop more Splinters overall, but take significantly longer time to complete and loot. |
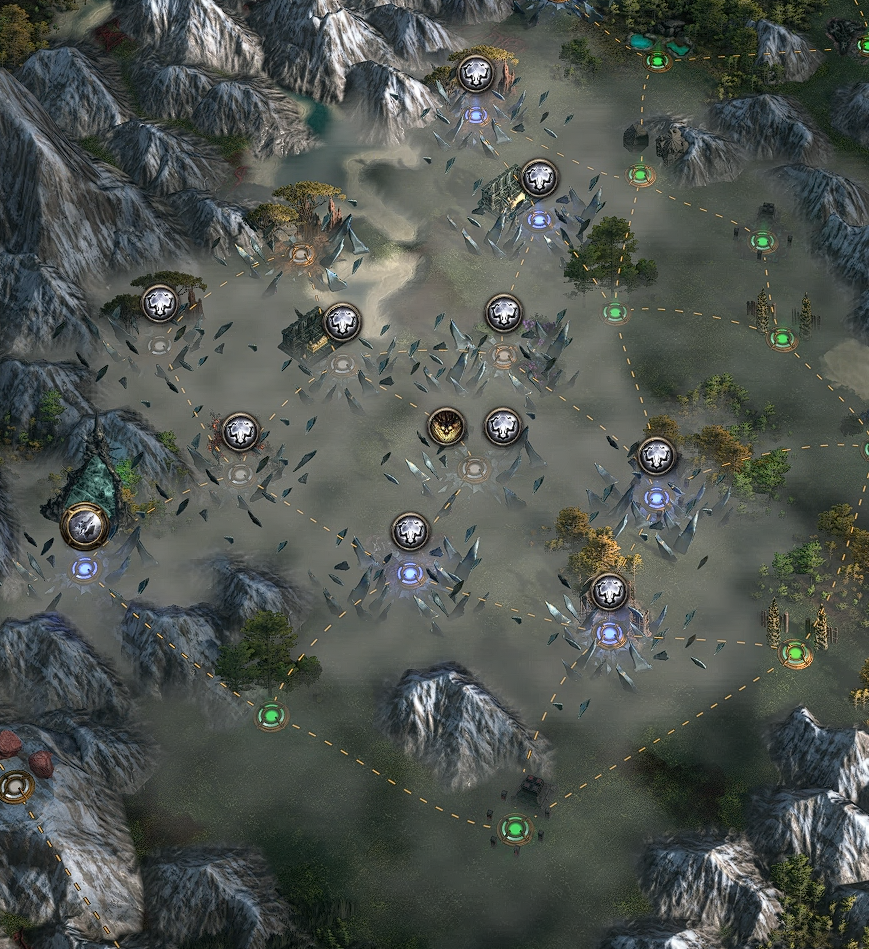 |
| Delirium Bank caused by Grand Mirror |
Simulacrum
The Simulacrum encounter can spawn naturally when interacting with Grand Mirrors, or by using the Simulacrum Item on your Atlas Map. It is a special Map with 7 segments. In each room, you will fight waves of enemies. Each wave after the first allows you to pick an additional shard that raises the difficulty and rewards. The Apex Predators are a recommended option, since Bosses are the best source of valuable Emotions.
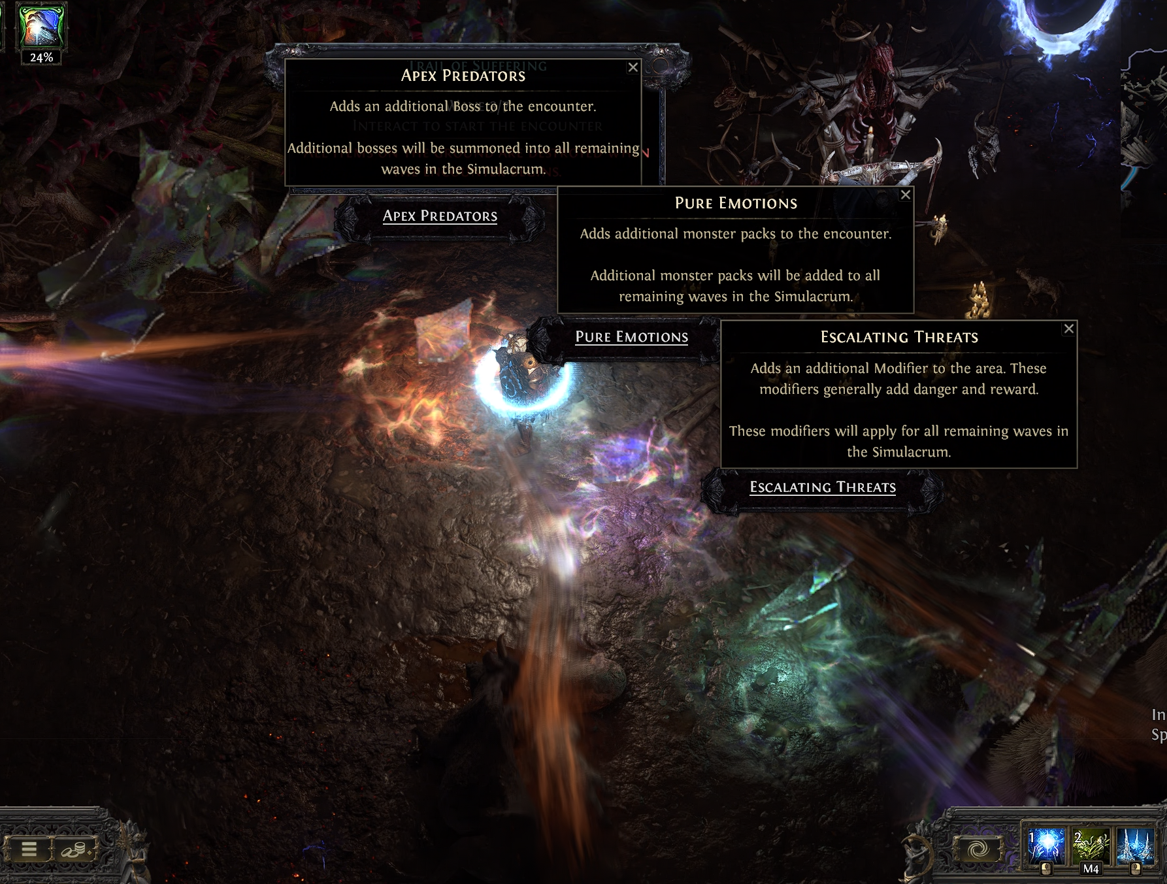 |
| Special Shards that make your Simulacrum harder, but more rewarding. You can also skip this choice. |
Recommended strategies
Generic loot boost
If you are using Delirium to boost other farming methods via generic Item Rarity bonus granted by Delirious modifiers, you should hunt for the Grand Mirror, so you don't have to waste the Tablet Slot, but it is not always accessible. The faster, but less optimal method is to use a single Delirium Tablet with generic modifiers that suit the primary strategy, such as Monster Rarity or Effectiveness. You will still get a bit of Splinters and Emotions, but you mostly use this method to get more raw Currency.
Simulacrum
The Simulacrum can not be boosted with Tablets, but the Waystone modifiers still apply to the basic monsters you will be fighting. Stacking the regular Monster Rarity, Effectiveness, or Pack Size will improve the rewards you get from each wave.
Simulacrum Splinters & Liquid Emotions
Finally, if you want to farm Delirium itself, your main profit comes from Splinters and Emotions. You will get them only from Delirious Monsters in your map. Each Delirium Tablet added to your Map increases the base Delirious level and the amount of Delirious Monsters and Fractured Shards within your Map. You can use this method on both regular Delirium Mirror maps and Grand Mirror maps, but regular Maps are much more comfortable due to automatic Splinter stacking at the end.
The biggest difference in your profit comes from a special mod that directly increases the Splinter drops in your Map, followed by improving the amount of Delirium monsters in your Map. Other than that, you will also need the usual juicing modifiers to improve the overall drops from monsters you fight.
| List of recommended Tablet modifiers (Depth hunting) | |
|---|---|
| Priority | Modifier |
| Mandatory | (15-30)% increased Stack size of Simulacrum Splinters found in Map |
| High | Delirium Fog in Map spawns (12-26)% increased Mirror Shards |
| High | Delirium Monsters in Map have (15-30)% increased Pack Size |
| High | Delirium Fog in Map spawns (15-30)% increased Fracturing Mirrors |
| High | Monsters have (10-15)% increased Effectiveness |
| High | Map has (15-20)% increased Monster Rarity |
| High | Map has (25-35)% increased number of Rare Monsters |
| High | Map has (1-2) additional random Modifiers |
| Medium | Delirium Fog in Map applies (15-30)% increased Deliriousness to Players |
| Medium | Delirium Encounters in Map are (15-30)% more likely to spawn Unique Bosses |
| Low | Delirium Fog in Map dissipates (20-30)% slower |
| Low | Slaying Rare Monsters in Map pauses the Delirium Mirror Timer for (3-5) seconds |
Low investment Delirium
Delirium is probably the best Endgame mechanic to add to your Maps during early progression. The Progress Bar can be used as a compass towards the final Map Boss, which will speed up your Atlas completion significantly. You will get a small boost to your generic drops, and the small amount of Delirious Effect shouldn't slow you down that much. Magic and Rare Tablets without any of the important modifiers listed above are very cheap, and you only need the base Tablet effect.
Alternatively, you can use Irradiated Tablets to spawn random mechanics on your Map, including Delirium. It also has a hidden modifier that boosts all other Tablet drops. Normal-quality Tablets are often worth more than bad Magic or Rare, so you can sell them on the market, or craft them yourself if you unlocked this possibility via the main Atlas Tree.
Keep in mind, the Splinter farm is rather ineffective if you can't use all 3 Tablets with special modifiers. If you already unlocked all your Atlas Points and are looking for methods to farm Currency at low budget, or struggle with 6-mod Waystones, check out other endgame mechanics that are much more beginner-friendly.
Delirium Atlas Tree
You will need almost the full Delirium Atlas Tree to farm this mechanic efficiently. It unlocks basic functionality, such as enabling Splinter drops at all. Make sure to complete the Intro Questline and challenge the pinnacle Trickster Boss a few times before engaging with this mechanic in a meaningful way.
Important choice Notables:
- Recurring Nightmares: +4 additional Maps - the upper limit of Delirious Levels is capped at 200%, so the other option is wasteful.
If you have any other Guide requests, please leave them in the comments below. We are always open to suggestions and constructive feedback.
Pictures used in this article are the intellectual property of Grinding Gear Games.